

Manually publishing every LinkedIn post means interrupting your day whenever content needs to go live. Yes, you can schedule LinkedIn posts using the native scheduler or a platform such as Metriwo. Prepare the content, choose the destination, set a valid publishing time, and confirm the schedule.
LinkedIn’s built in option suits straightforward publishing. A broader workflow may need shared calendars, approvals, or coordination across several accounts. Those capabilities vary by tool and plan.
Start by separating personal profiles from Company Pages. Their minimum scheduling times differ, and Page publishing requires admin access. The sections below cover desktop, mobile, scheduling limits, managing your queue, and choosing an external workflow.
Ways to Schedule LinkedIn Posts
| Method | Free? | Account Workflow | Best For |
| Linkedin native scheduler | Yes | One destination per post | Basic scheduling |
| Metriwo | Trial, then paid plans | Connected accounts | Centralized planning |
| Other schedulers | Varies | Depends on product | Specific team needs |
Metriwo’s pricing page lists a seven day trial and publishing coin costs. Check account allowances before choosing a plan.
Can You Schedule Posts on LinkedIn?
Yes. Eligible posts can be scheduled for personal profiles and Company Pages. However, permission to manage a Page does not make every post format eligible.
- Profiles use the member’s own composer.
- Pages require a super admin or content admin.
- Available formats depend on the destination.
- A scheduled post still needs a final review.
How to Schedule LinkedIn Posts Natively
Step 1: Start a New Post
On desktop, select Start a post. For a Company Page, enter its admin view, choose Page posts, then start the post.
Step 2: Add Your Content
Prepare copy, links, media, mentions, and hashtags. Composer options can include images, video, and documents, but availability does not guarantee scheduling support.
Step 3: Open the Scheduling Controls
Select the clock near the composer’s lower corner. Its position varies between interfaces.
Step 4: Select a Date and Time
Choose a valid date and publishing time. Check your device’s time zone and the displayed schedule before continuing.
Step 5: Review the Post
Check the destination, opening lines, links, mentions, media, accessibility details, and selected time.
Step 6: Schedule the Post
Choose Next, then Schedule. Look for the confirmation and check your scheduled list. LinkedIn documents this sequence in its profile scheduling guide.
When deciding how to schedule social media posts, always verify the saved destination and time.
How to Schedule LinkedIn Posts on Mobile
Step 1: Open the LinkedIn Composer
Tap Post. For a Page, open its admin view, then Dashboard, Page posts, and Post.
Step 2: Create the Post
Add your copy and supported media. Review mentions, links, and audience settings on the smaller screen.
Step 3: Open the Schedule Menu
Tap the clock near the upper right. LinkedIn’s Page scheduling instructions describe the separate admin path.
Step 4: Choose the Publishing Time
Select a valid date and time. Travel and changed device settings make the time zone worth checking again.
Step 5: Confirm the Schedule
Tap Next, review the time above your post, and tap Schedule. Verify the confirmation before leaving the app.
LinkedIn Scheduling Limits You Should Know
LinkedIn’s current help pages specify these windows:
| Destination | Minimum Lead Time | Maximum Advance | Required Access |
| Personal profile | 10 minutes | 3 months | Profile owner |
| Company Page | 1 hour | 3 months | Super or content admin |
Profile scheduling uses the device’s time zone and standardizes the timestamp in UTC. Page times are based on your location.
The Page guide excludes these scheduled formats:
- Events, jobs, and services
- Polls and reshares
- Posts containing multiple photos
The profile guide specifically excludes events, jobs, and services. Do not apply every Page restriction to profiles. Check the composer for the exact combination you intend to publish.
Native scheduling operates through individual composers. It is not a calendar covering other social networks, and its documented workflow is not a bulk import or formal approval process.
LinkedIn Native Scheduler vs. Third Party Scheduling
| Capability | Linkedin Native | External Tools | What to Verify |
| Advance scheduling | Up to 3 months | Varies | Current window |
| Bulk scheduling | Individual composer | Varies | Import support |
| Multriple accounts | Separate destinations | Varies | Account types |
| Team approvals | Admin coordination | Varies | Approval controls |
| Calendar across networks | Linkedin only | Varies | Supported networks |
The best linkedin scheduling tool for your team depends on the workflow you can demonstrate, including who reviews content and what happens when publishing fails.
How to Manage Scheduled LinkedIn Posts
Step 1: Find Scheduled Posts
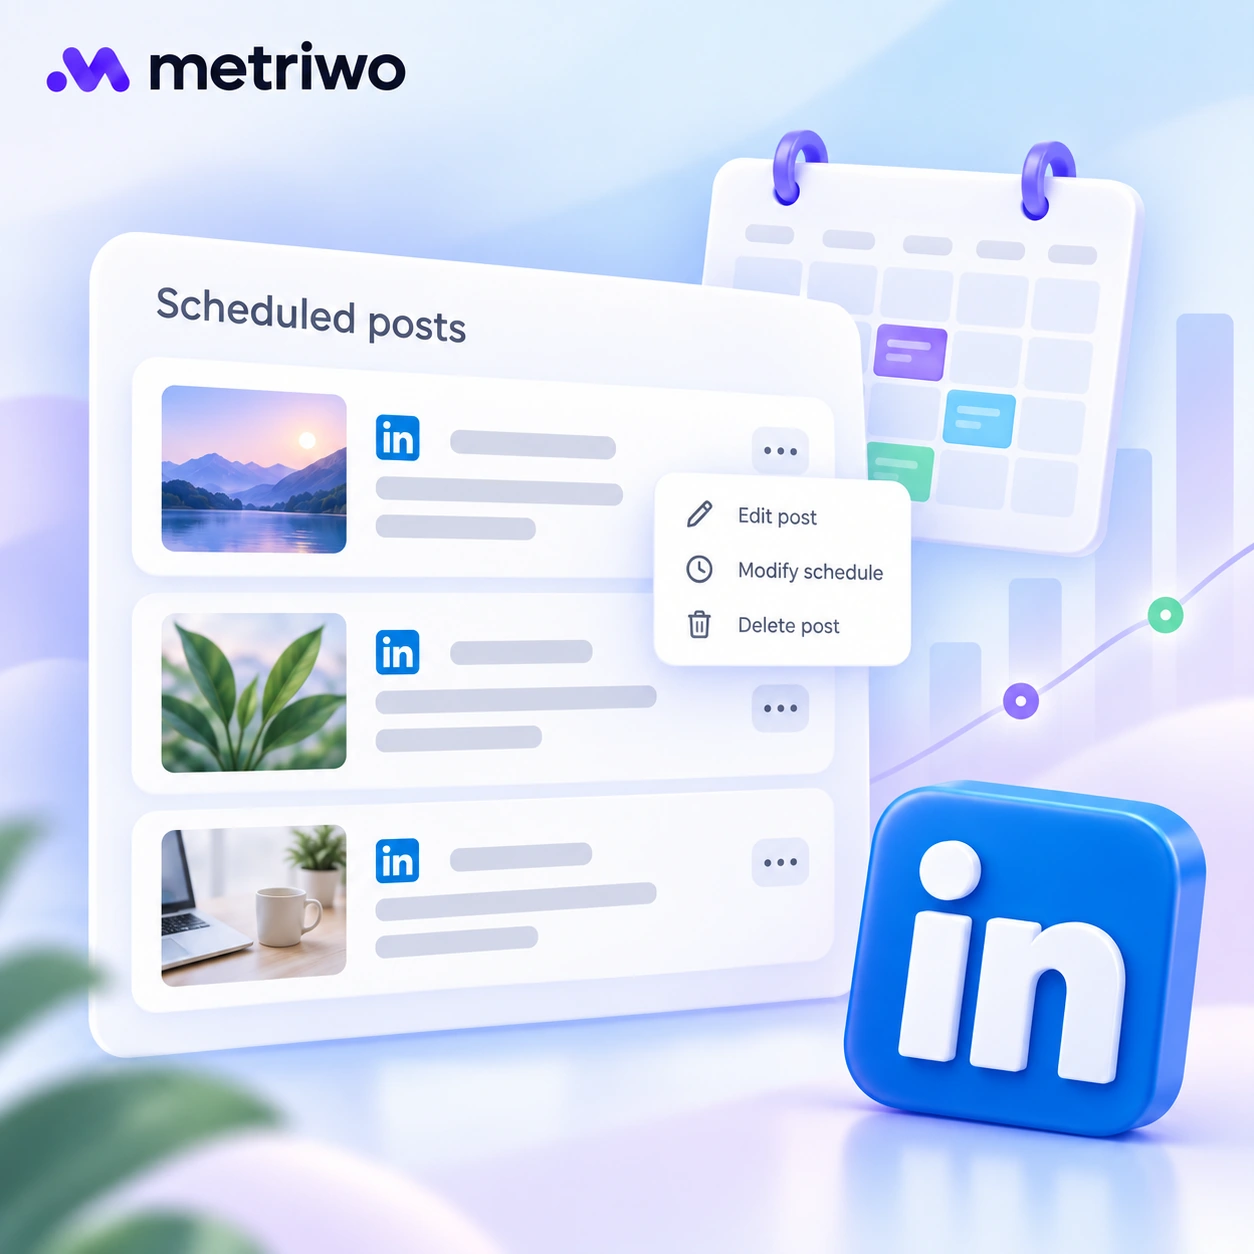
Open the composer, select the clock, then View all scheduled posts. Mobile may display View al.
Step 2: Edit a Scheduled Post
Open More, then Edit post. For Pages, LinkedIn confirms editing content, visibility, comment permissions, and brand partnership settings. Its editing guide does not promise that every media change is supported.
Step 3: Reschedule the Post
Choose Modify schedule, select another date and time, then save. The Page rescheduling workflow finishes with Next and Schedule.
Step 4: Publish Immediately
For Pages, LinkedIn documents Post now among the scheduled post controls. Confirm the destination and readiness before using it. Do not assume identical options appear on every profile.
Step 5: Delete the Post
Choose Delete post and confirm only when certain. LinkedIn says deleted scheduled Page posts cannot be recovered Copy anything you may reuse first.
When Should You Use a Third Party LinkedIn Scheduler?
One profile and a modest queue may not need another tool. Consider a social media management platform when your actual requirements include:
- Several profiles or Company Pages
- Shared planning and review ownership
- Content coordination across networks
- Consolidated reporting or larger publishing volumes
Ask vendors to demonstrate bulk imports, client approvals, and failure handling separately. A calendar alone proves none of them.
How to Schedule LinkedIn Posts with Metriwo
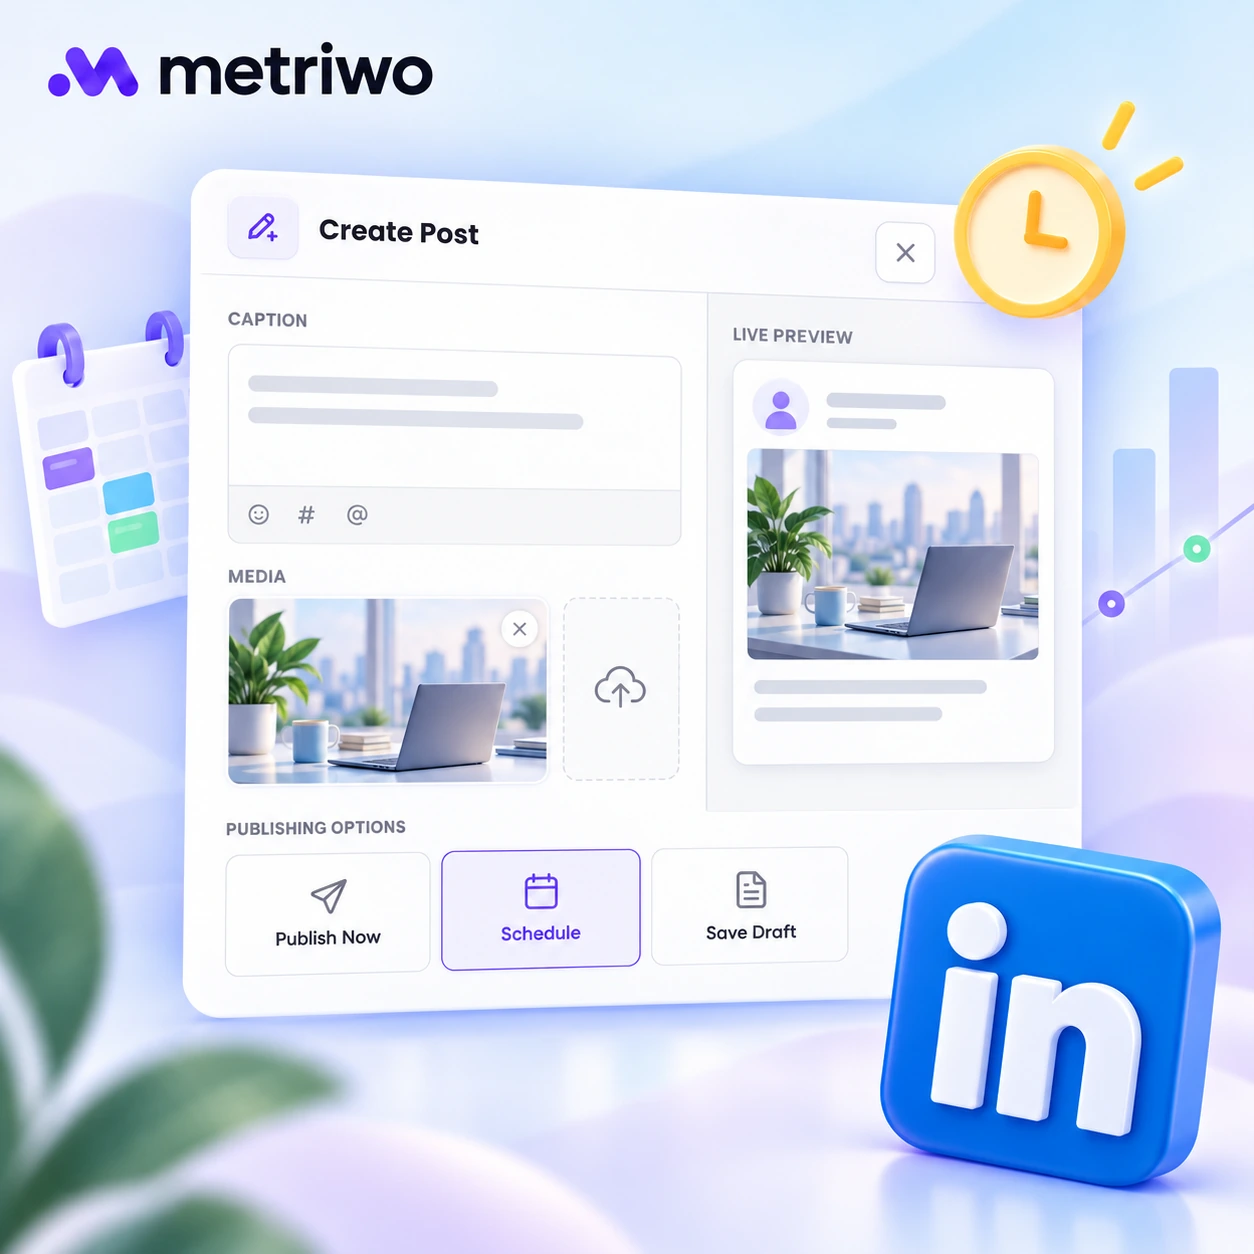
Metriwo’s linkedin post scheduler describes support for personal profiles, Company Pages, drafts, previews, and scheduled publishing. Choose the account and content combination you need before building a large queue.
Step 1: Connect Your LinkedIn Account
Start the LinkedIn connection from account management. Review the authorization request and select the profile or Page you intend to manage. Confirm the destination appears after returning.
Step 2: Create a LinkedIn Post
Open the publishing workspace and create a post. Keep the content unpublished while preparing it.
Step 3: Select the LinkedIn Destination
Choose the connected LinkedIn account. Check the displayed identity carefully when personal and company destinations look similar.
Step 4: Add Your Content
Enter the copy and add supported media. Verify document uploads, mentions, alternative text, and video captions individually rather than assuming native LinkedIn controls carry over.
Step 5: Preview and Review the Post
Check the preview, links, and media. Save a draft if review is incomplete.
Step 6: Choose the Date and Time
Select the publishing date and time. Confirm the applicable time zone before scheduling. Metriwo’s publishing overview describes this general workflow.
Step 7: Confirm the Schedule
Submit the schedule, then check the calendar or queue for the correct post and destination. After publication, verify the live result.
Schedule LinkedIn Posts with Metriwo
Plan and organize LinkedIn content from one centralized workflow.
Best Practices for Scheduling LinkedIn Posts
Understand the Audience
Write for a specific role, industry, and decision. A useful procurement insight differs from a general company update.
Use Audience Specific Timing
Research on the best time to post on linkedin is a starting point. Test against your own audience’s location and work patterns.
Maintain Content Variety
Rotate formats that suit the message:
- Text insights and practical examples
- Images and company updates
- Videos and readable documents
- Links with useful context
Review Before Publishing
Read the hook aloud, open each link, and inspect the media on a phone. Confirm that claims and mentions are still accurate.
Engage After Publication
Assign someone to respond to comments. Scheduling should free time for conversation.
Leave Room for Timely Content
Keep space for relevant news and company changes. Revisit queued posts when circumstances change.
Build a short weekly review into your routine. Scan the next several days for expired offers, changed event details, and messages that no longer fit the news. Keep source files and approved copy somewhere your team can find them, so a necessary correction does not become a search through old messages. Assign one person to make the final decision about pausing content.
Does Scheduling LinkedIn Posts Affect Engagement?
Do not treat scheduling as an automatic engagement penalty. A disappointing result does not establish that the publishing method caused it.
Compare similar topics and formats across several posts, keeping audience fit and timing in view. LinkedIn provides native metrics. A social media analytics tool can also help organize performance comparisons, depending on its supported data. Use those comparisons to improve future content, not to promise a universal posting formula.
LinkedIn Scheduling Mistakes to Avoid
- Selecting the wrong profile or Page
- Overlooking the time zone
- Choosing an unsupported format
- Publishing broken links or unreadable documents
- Copying identical wording across networks
- Forgetting accessibility or unanswered comments
- Leaving sensitive or outdated content in the queue
Review upcoming posts again as their publication dates approach.
Pre Publishing Checklist
- Correct account and destination
- Date, time, and time zone confirmed
- Opening lines and mentions reviewed
- Links tested and media preview checked
- Claims checked and accessibility added
- CTA and any required approval confirmed
- Engagement owner assigned
A scheduled post is only half the job. Someone still has to show up when the comments start coming in.