

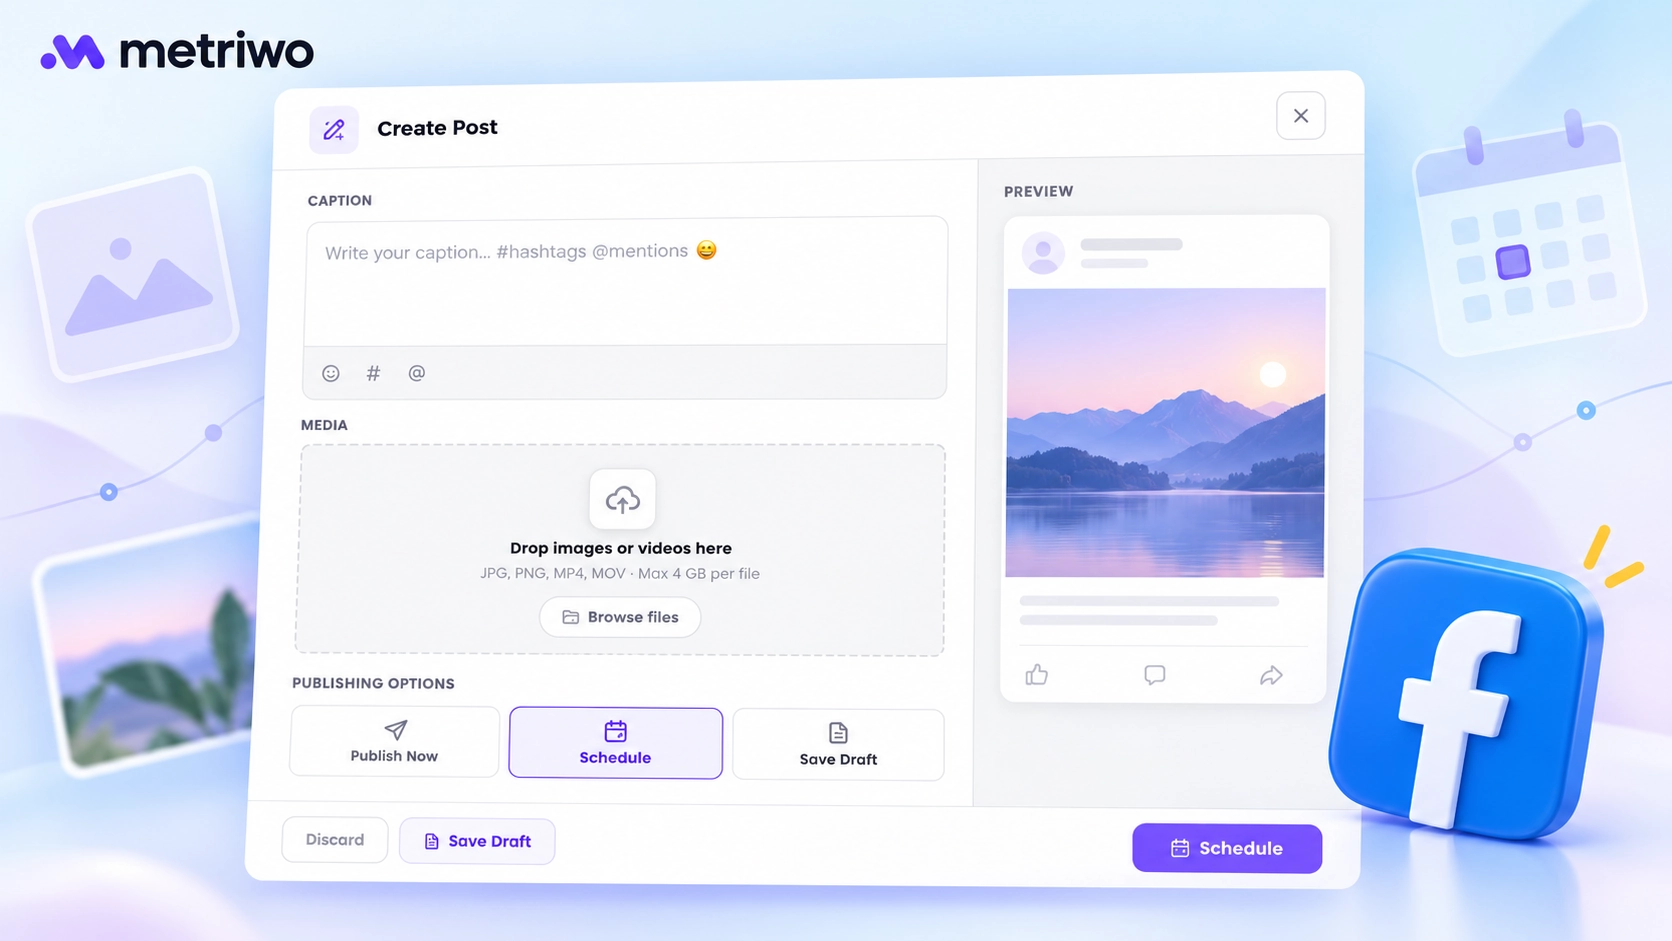
Publishing manually gets awkward when a launch post needs to go out during a meeting, a client changes the caption, and tomorrow’s content is still unfinished. Scheduling gives those tasks a place in your working day before the deadline arrives.
Yes, you can schedule Facebook posts in advance using Meta Business Suite, eligible Facebook mobile workflows, or a third-party scheduling platform. Start with the account you publish to, then choose a tool that fits the work around it.
Ways to Schedule Facebook Posts
| Method | Free? | Schedule ahead | Multi-page workflow | Best for |
| Facebook mobile app | Yes | Account-dependent | Check each destination | Quick mobile updates |
| Meta Business Suite | Yes | Check current composer limits | Select the relevant page | Native page planning |
| Metriwo | Check your plan | Date and time controls observed | Requires eligible connections | Evaluating a shared workspace |
| Other schedulers | Varies | Tool-dependent | Tool-dependent | Specific team requirements |
Can You Schedule Facebook Posts?
A Page, personal profile, professional-mode profile, and Group can have different scheduling options. Check your exact destination.
For a Page, Meta Business Suite is the native desktop starting point. Mobile scheduling depends on the app and account you use. A third-party tool adds another connection and permission layer, so confirm that your particular destination is supported before building a content calendar around it.
For a handful of posts, a native tool may cover the job. For work across brands, evaluate calendar visibility, approvals, permissions, and reporting.
Why Schedule Facebook Posts?
The practical benefit is separating preparation from publication. You can review Friday’s announcement on Wednesday, resolve questions while colleagues are available, and still publish at the intended time.
- Batch captions and visuals while campaign details are fresh.
- Maintain a realistic publishing rhythm during busy weeks.
- Coordinate posts with launches, emails, and promotions.
- Reserve time for comments and messages after publication.
- Test timing against your own Page’s results.
Finding the best time to post on Facebook starts with your audience, not a universal timetable. Choose a few plausible time slots, compare similar posts over several weeks, and keep the schedule that supports your actual goal. More reactions and more qualified website visits aren’t necessarily the same outcome.
How to Schedule Facebook Posts in Meta Business Suite
The native desktop workflow follows seven stages. Labels and available controls can vary, so check the selected Page and the options shown in your account before confirming a post.
Step 1: Open Your Facebook Page and Meta Business Suite
Open the Page you manage and look for Meta Business Suite. Confirm that you have access to create and manage its content. If the expected Page is missing, resolve the access issue before preparing the post.
Step 2: Create a Post
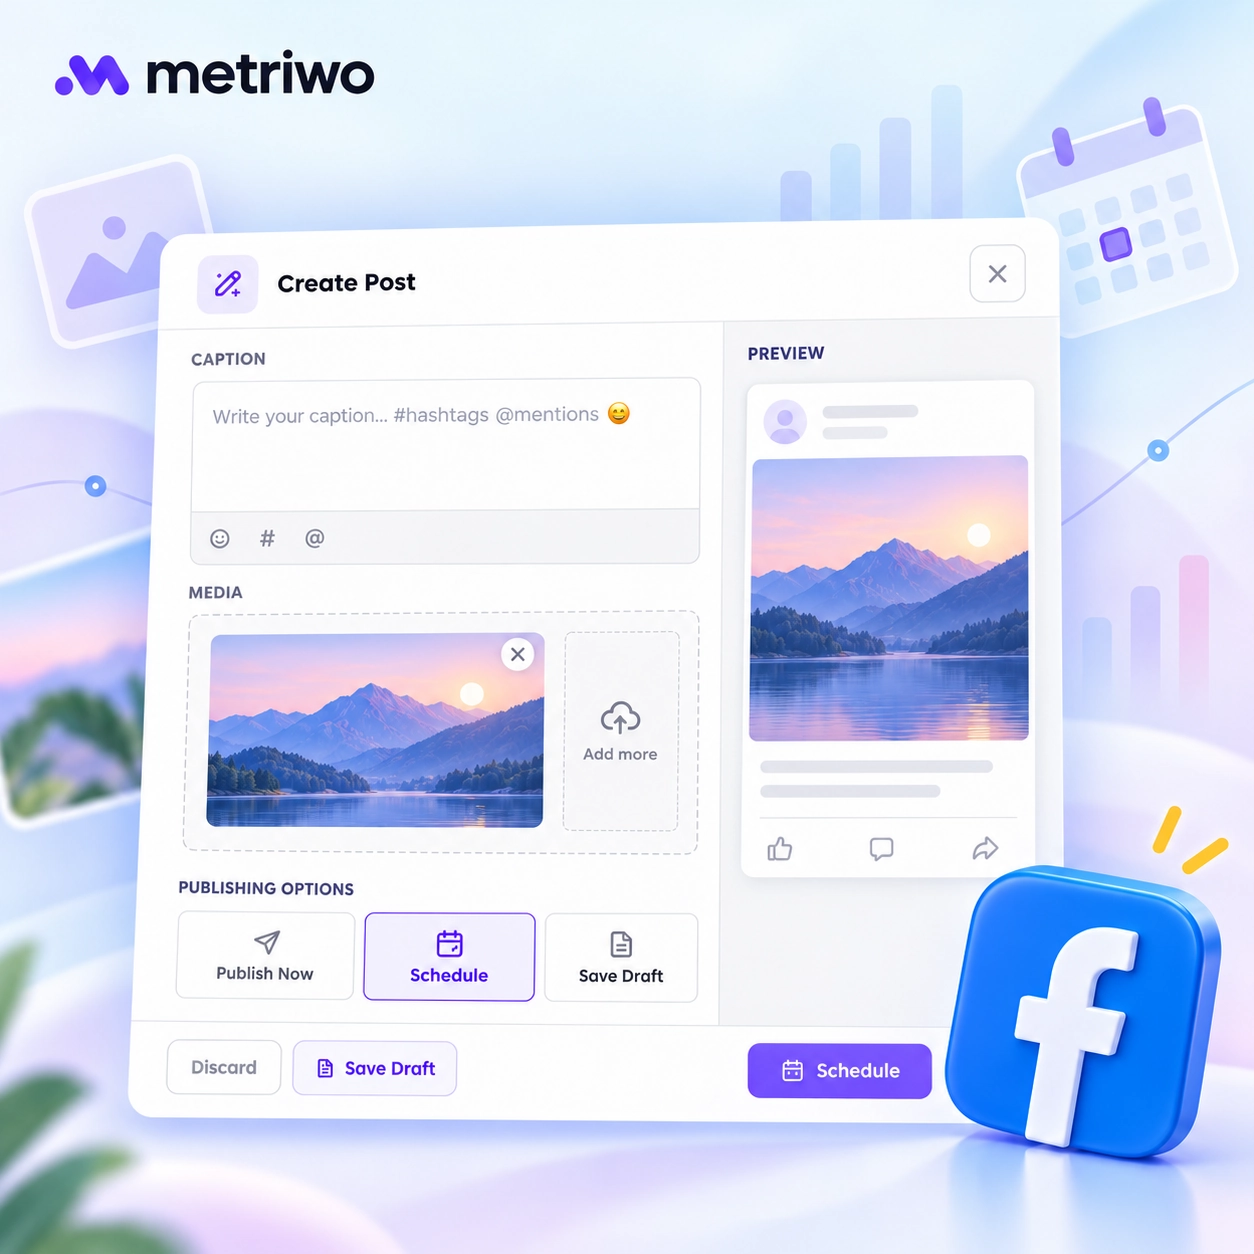
Open the post composer. Keep the final caption, destination URL, and approved media together so you can review the complete post in one session.
Step 3: Select Facebook as the Destination
Check the Facebook Page name. If the composer offers another destination, review that selection separately; don’t assume every selected account should receive identical content.
Step 4: Add Content and Post Details
Add your text and media. Open the destination link yourself and inspect any preview the composer provides. Review mentions and additional settings only when those controls are available for your post type.
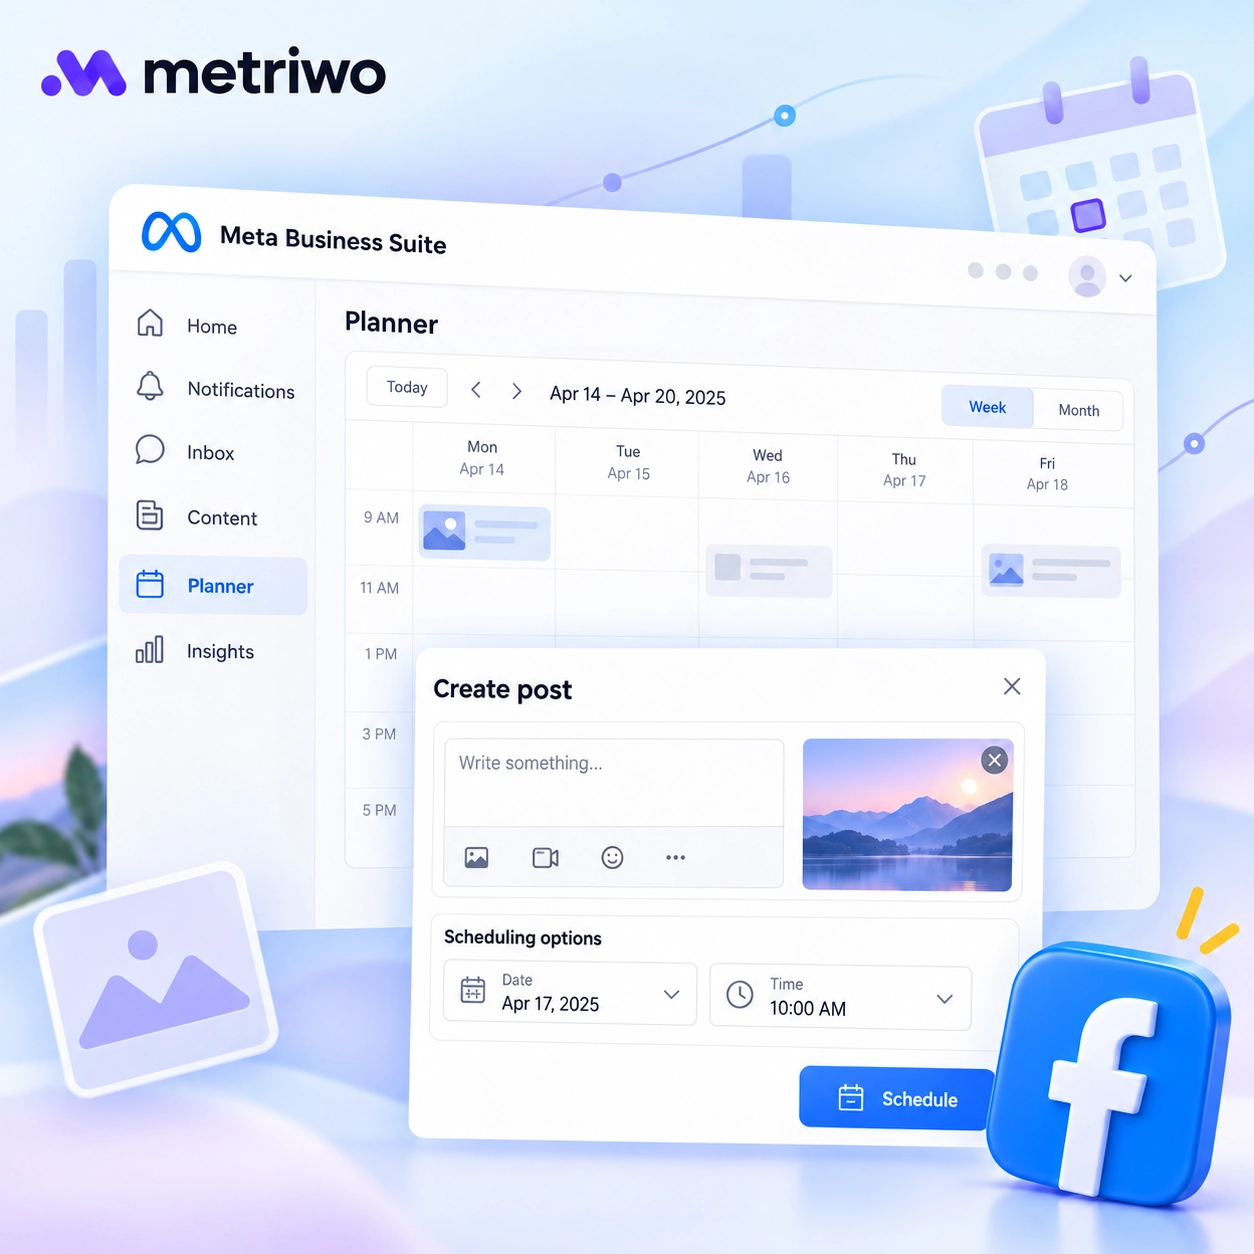
Step 5: Set the Date and Time
Open the scheduling controls and choose the intended date and time. Check the time zone, especially when the person preparing the post works in a different country from the audience.
Step 6: Schedule the Post
Review the destination, content, and publication time before confirming. Wait for a saved or scheduled confirmation; closing the composer alone doesn’t establish that the post was scheduled successfully.
Step 7: Find and Manage Scheduled Content
Locate the post in the available content list or planning view. Reopen it to check the saved details. Use the actions offered for that item when editing, changing its time, publishing immediately, or removing it. Save changes and verify the resulting state again.
Can You Schedule Facebook Posts from Mobile?
Check the account you’re acting as before opening the composer. A personal-profile screen and a Page screen can look similar while offering different publishing options.
Step 1: Start a Post
Open the intended Page or eligible profile in the Facebook app and begin creating a post. Confirm the destination shown next to the composer.
Step 2: Add Media and Post Details
Add the caption, link, and media. Check the full image and the end of your caption; a small screen makes it easy to miss a crop or an unfinished sentence.
Step 3: Open Scheduling Options
Look for scheduling in the post settings. If the option is absent, check eligibility and the available Meta Business Suite route instead of assuming your post has been queued.
Step 4: Choose a Date and Time, Then Schedule
Save the intended time and complete the final scheduling action. Confirm that the item appears among upcoming posts. Labels may differ by app version, account type, and region.
How to schedule social media posts becomes a broader planning question when Facebook is only one channel. Keep campaign dates consistent while reviewing each platform’s version separately.
Facebook Scheduling Limits You Should Know
Treat scheduling limits as properties of the current account, composer, and format. A window quoted for Page feed posts shouldn’t automatically be applied to Stories, Reels, Groups, or professional-mode profiles.
Check the earliest and latest selectable times before preparing a large campaign. Also confirm any daily or total cap shown by the tool. An API publishing window and a native composer’s scheduling window may describe different workflows.
Text, photos, video, Reels, and Stories need format-specific checks. Don’t assume that events, check-ins, or albums offer the same scheduling controls as a standard post. Likewise, distinguish bulk uploading, posting to several Pages, and recurring evergreen posts: these solve different problems.
For client work, confirm whether review is an enforced approval step or simply a draft someone can inspect. Assigning people access is not, by itself, an approval process.
Before you schedule:
- Confirm the correct Page is selected.
- Check that the chosen format supports scheduling.
- Verify the date, time, and time zone.
- Review links, media rights, and account permissions.
When Should You Use a Third-Party Facebook Scheduler?
Consider another tool when the work surrounding publication becomes difficult to coordinate. The useful question is which recurring task you need it to handle.
- Separate calendars for multiple Pages or brands.
- Bulk preparation of a large publishing batch.
- Recurring distribution of reviewed evergreen content.
- Client approvals with clear ownership.
- Shared planning across social channels.
- Reusable media and consolidated reporting.
A Social media post scheduler tool should make ownership clearer: who prepares the content, who approves it, and who responds if publishing fails. Keep native access available so your team can investigate destination-specific problems.
How to Schedule Facebook Posts with Metriwo
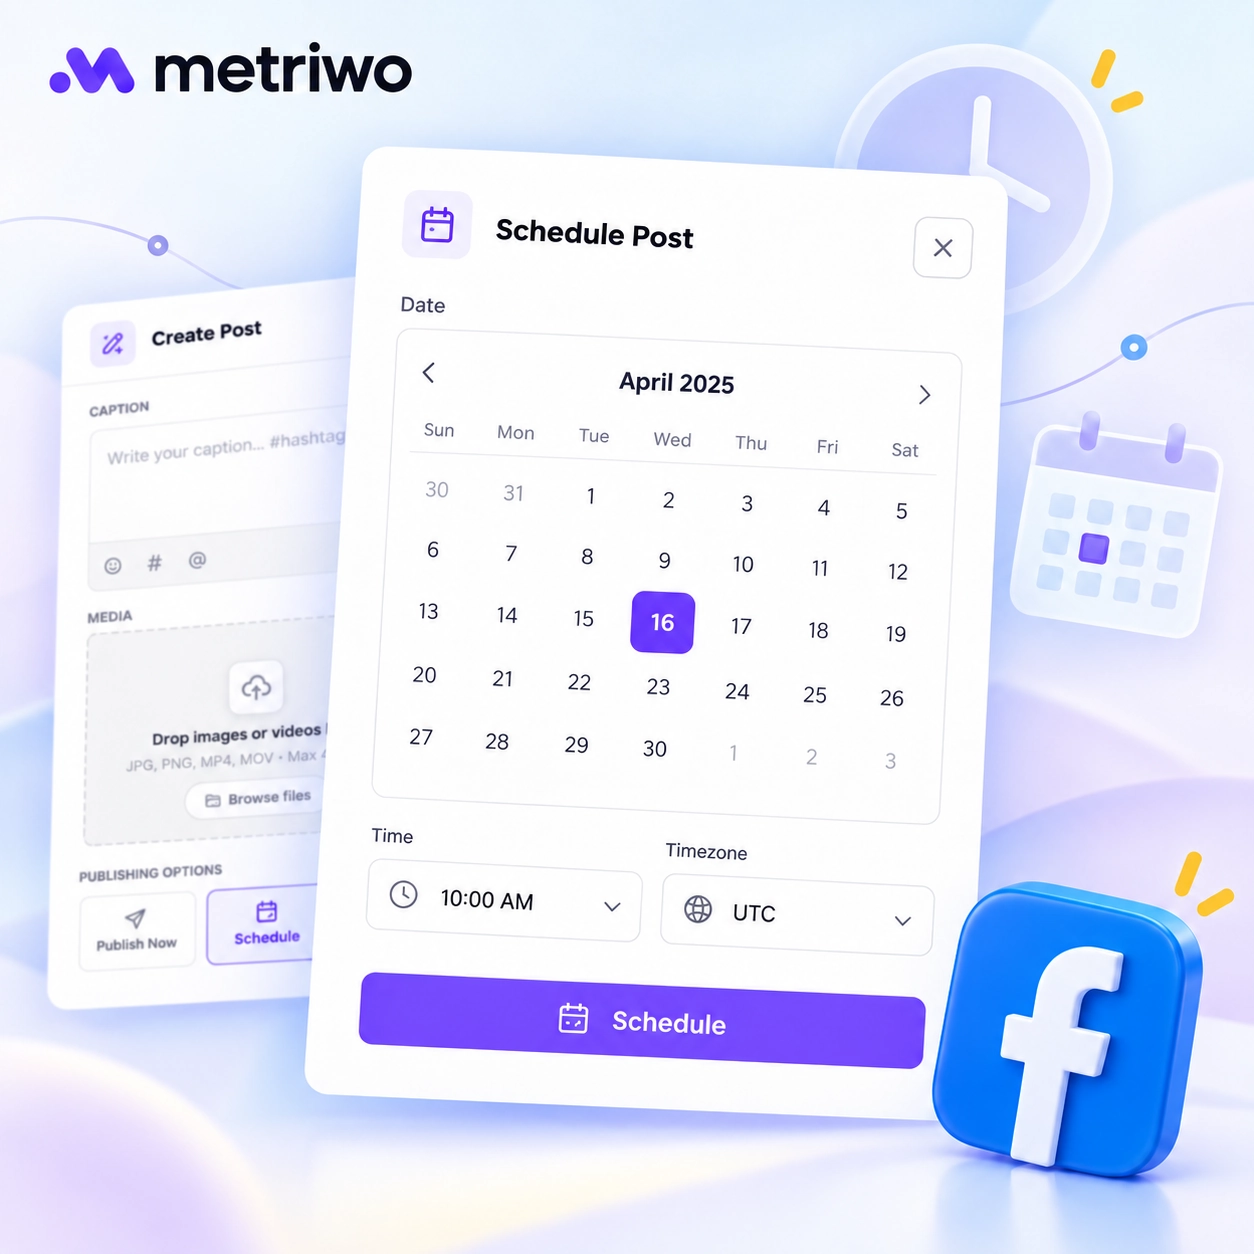
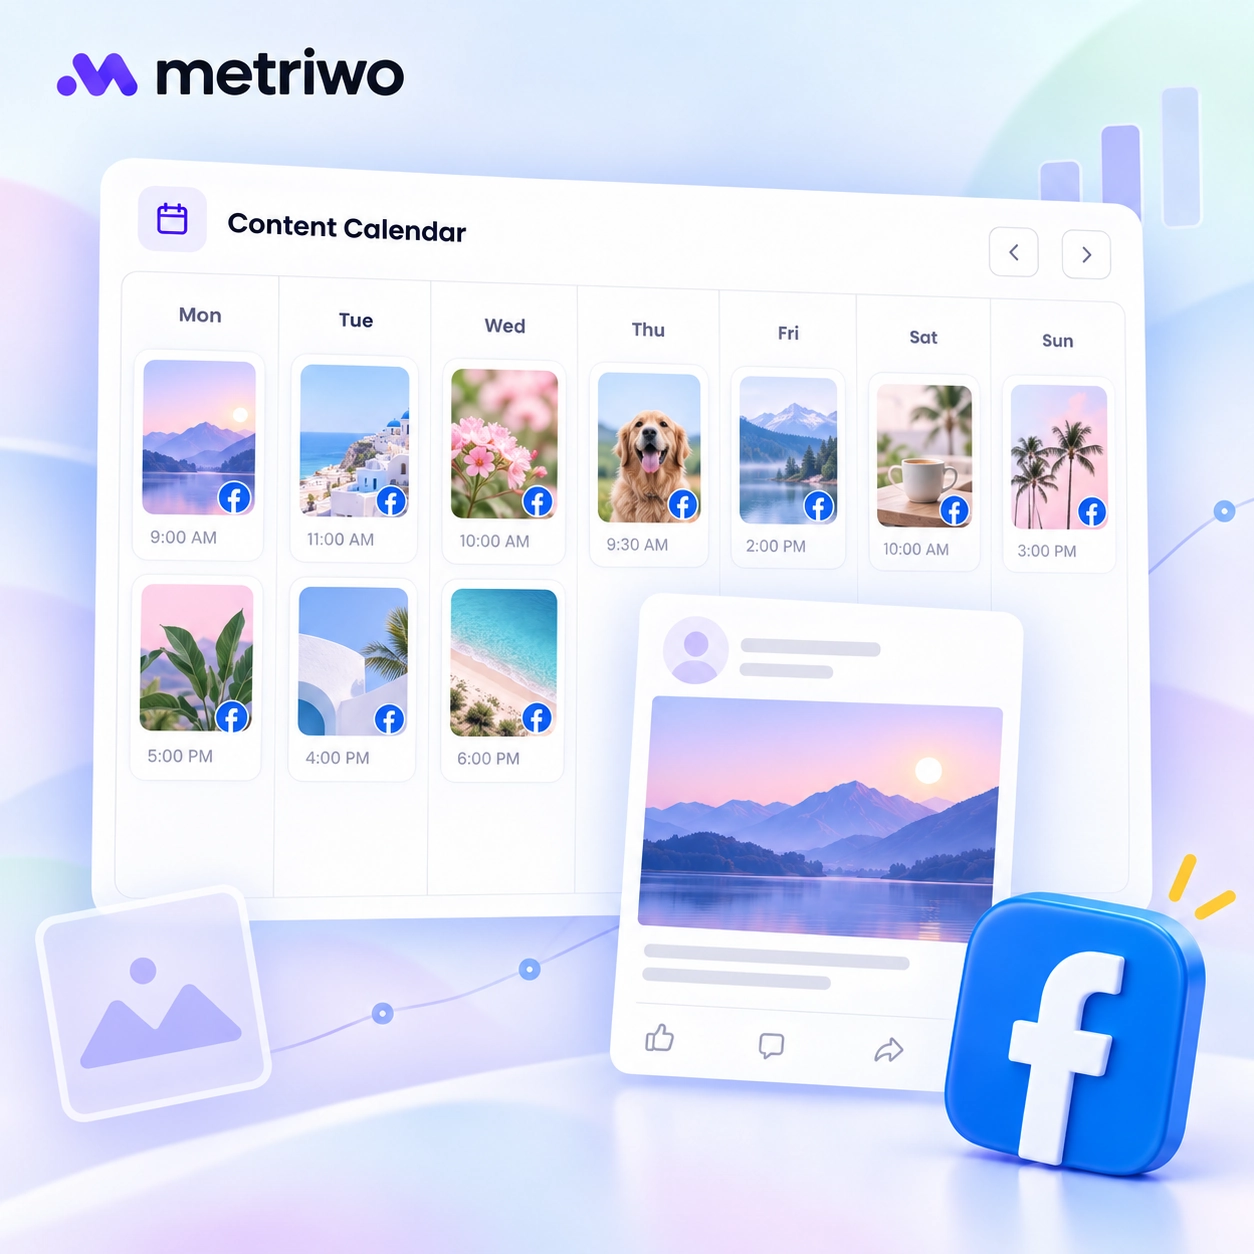
Metriwo’s workspace has Social channels for account connections and Publish for preparing content. In the publisher, Create Post opens a composer with an account selector, caption field, media area, and an approximate preview.
The visible publishing choices are Publish Now, Schedule, and Save Draft. Selecting Schedule reveals date, time, and time-zone controls. The final scheduling control is labeled Schedule Post.
An eligible account must be selected before scheduling. When evaluating the Facebook scheduler tool, begin with the connection status; a visible composer is not evidence that a particular Facebook Page can receive posts.
Review the uploaded media and caption, then check that the publication time matches your campaign plan. Treat the on-screen preview as approximate and verify the final destination when testing your publishing setup.
Explore Metriwo’s publishing workspace to inspect the available controls and prepare your workflow.
Native Facebook Scheduling vs. Metriwo
This comparison separates controls visible in the workspace from capabilities that require a connected-account test.
| Need | Native workflow | Metriwo workspace observed |
|---|---|---|
| Prepare content | Page post composer | Caption and media controls |
| Set a publication time | Scheduling controls | Date, time, and time-zone fields |
| Choose a destination | Check the selected Page | Account selector; eligibility required |
| Review before publishing | Review the post details | Approximate preview |
| Complete a Facebook scheduling test | Requires Page access | Requires a connected Facebook Page |
What to Look for in a Facebook Scheduler
Build your shortlist around tasks you can demonstrate, not feature names. Ask the person evaluating a tool to prepare a representative post, change its time, and find it again.
- Confirm Page support and the formats you actually publish.
- Check calendar visibility, drafts, and editing controls.
- Test media reuse and management of several Pages.
- Review approval roles and permission boundaries.
- Inspect failed-post alerts and recovery options.
- Compare reporting and other-channel support against your needs.
A comparison of the Best Facebook Scheduling Tools is most useful when it shows which plan covers each requirement. Recurring queues can help teams reuse durable material, but every repeat still needs a review for outdated dates, prices, and links.
Best Practices for Scheduling Facebook Posts
Schedule Around Your Audience Data
Test a few meaningful time slots over several weeks. Compare similar topics and formats, and choose a consistent measurement period after publication. A single unusually successful post isn’t enough to establish a timing rule.
Batch Content, but Keep Room for Real-Time Posts
Prepare the dependable campaign content first. Leave space for service updates, community questions, and announcements that can’t be written weeks in advance.
Review Every Post Before It Goes Live
- Read the caption aloud for clarity and grammar.
- Open the link and check its preview and call to action.
- Confirm mentions, image quality, and video playback.
- Add relevant accessibility support and check brand voice.
Adapt Content for Facebook
Review the visual crop, opening sentence, link placement, and requested action for the Facebook audience. A caption copied from another channel may depend on context readers won’t have.
Stay Present After Publishing
Reserve response time after important posts. Give whoever handles comments the campaign details and a contact for questions they can’t answer.
Pause Content When Context Changes
Review upcoming promotions when a product issue, major news event, or change in availability makes the original message inappropriate. Assign someone responsibility for that check; a scheduled calendar still needs an owner.
Does Scheduling Facebook Posts Affect Engagement?
Don’t treat scheduling as an automatic explanation for weak engagement. Investigate the post’s topic, format, audience relevance, timing, and distribution before attributing performance to the publishing method.
Compare scheduled and manually published posts using similar content and the same measurement window. Record paid promotion separately, and check whether someone responded to comments after publication. Otherwise, the comparison may reflect different campaigns rather than different publishing methods.
Use the results to adjust your process. Scheduling is useful when it helps you prepare stronger content and stay available for the conversation; it doesn’t remove the need to review what your audience responds to.