
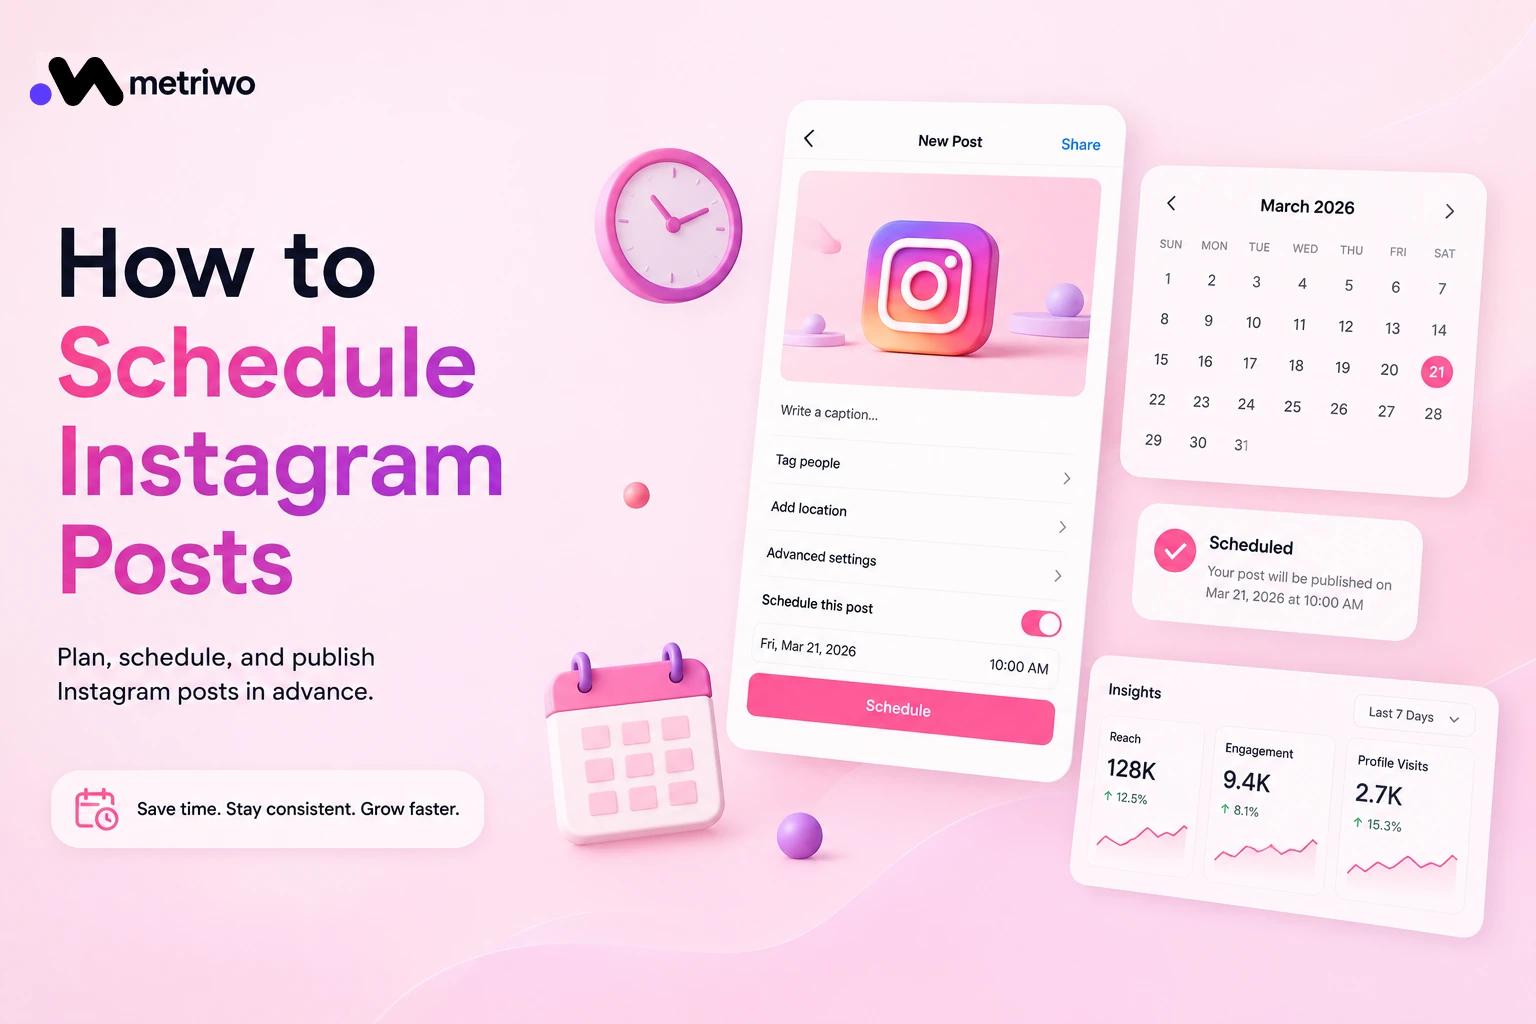
How to Schedule Instagram Posts
Publishing every single Instagram post by hand gets old fast. You’re either glued to your phone at the exact right moment, or you forget, and a week goes by with nothing posted. Scheduling fixes that, and the honest answer is yes, you can schedule Instagram posts in advance using Instagram’s own tools, Meta Business Suite, or a third party platform.
Which method actually makes sense depends on how many accounts you manage, how much content you’re producing, and whether you’re working alone or coordinating with a team. This guide walks through all three, what each one actually lets you do, where the limits are, and how a dedicated scheduler like Metriwo fits in once your workflow outgrows the basics.
Ways to Schedule Instagram Posts
| Method | Free? | Schedule Ahead | Multi-Account | Best For |
| Instagram app | Yes | Up to 75 days | Limited | Solo creators |
| Meta Business Suite | Yes | Up to 75 days | Limited | Small businesses |
| Metriwo | Verify current plan details | Verify | Verify | Teams managing several accounts |
| Other schedulers | Varies | Varies | Yes | Agencies and larger teams |
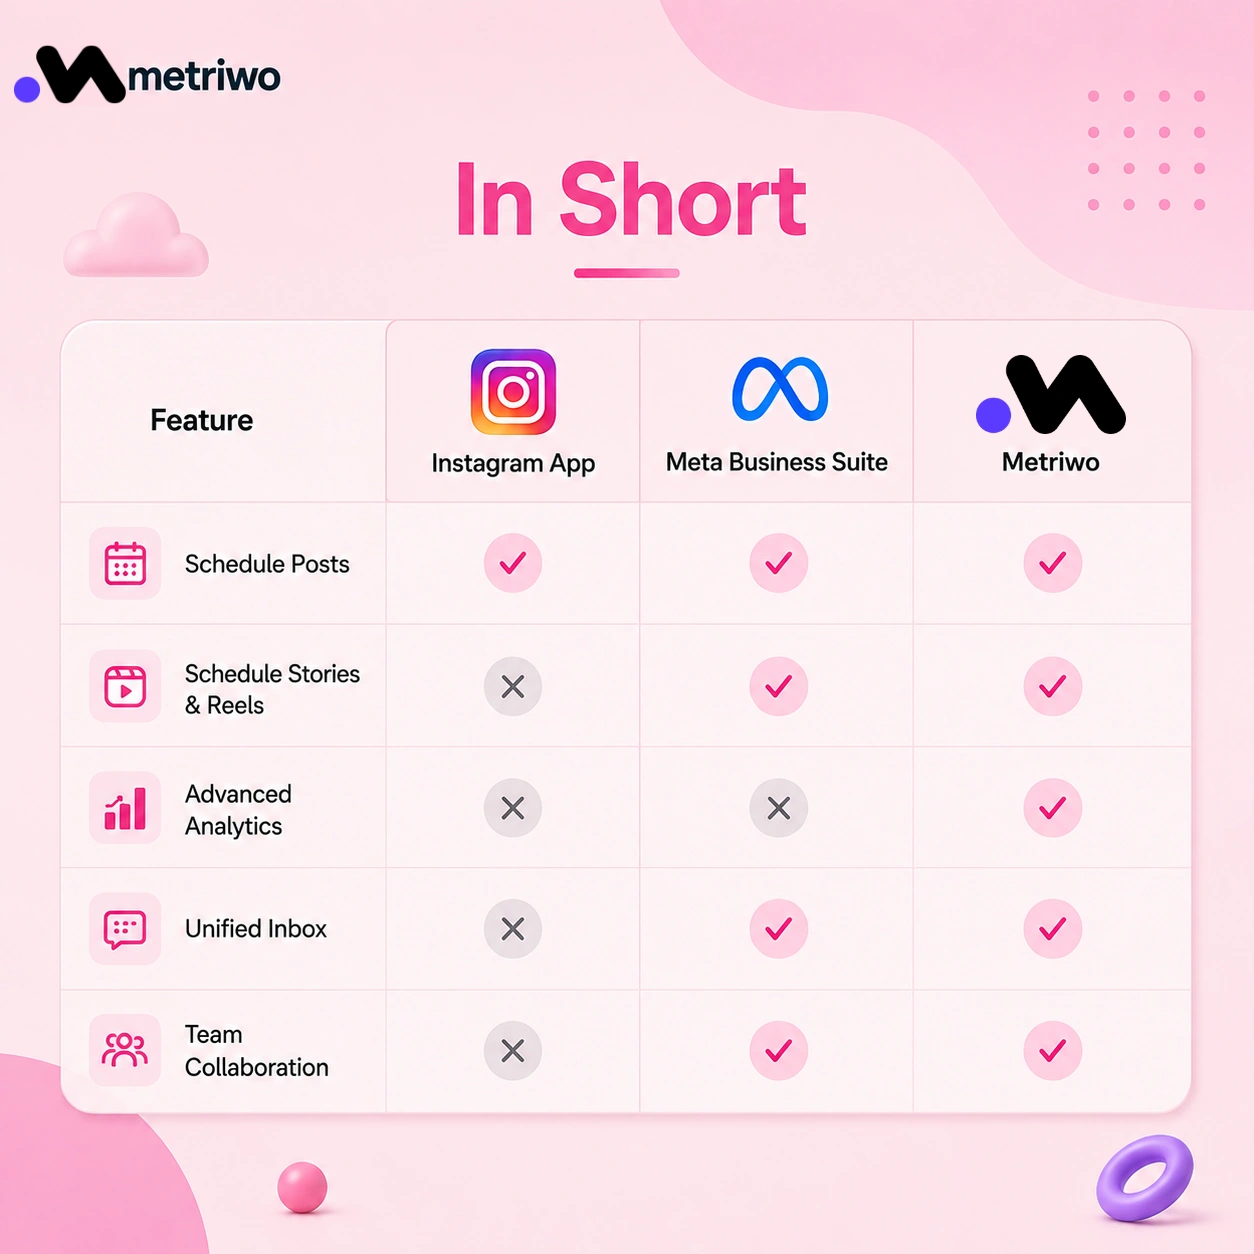
Scheduling a post doesn’t hurt its reach. What hurts reach is scheduling it and then disappearing when people start commenting.
Can You Schedule Instagram Posts?
Yes. As of a March 2026 update, any public Instagram account can schedule posts directly in the app, you no longer need a Business or Creator profile for basic native scheduling. Meta Business Suite covers the same ground from a desktop, plus Stories. Third party tools go further, covering multiple accounts, team approvals, and content calendars.
The right choice usually comes down to a few practical questions.
- How many accounts are you actually posting to?
- How much content are you producing each week?
- Are you working mostly from your phone or a desktop?
- Does anyone else need to approve posts before they go out?
- Do you need to plan weeks or months of content at once?
Why Schedule Instagram Posts?
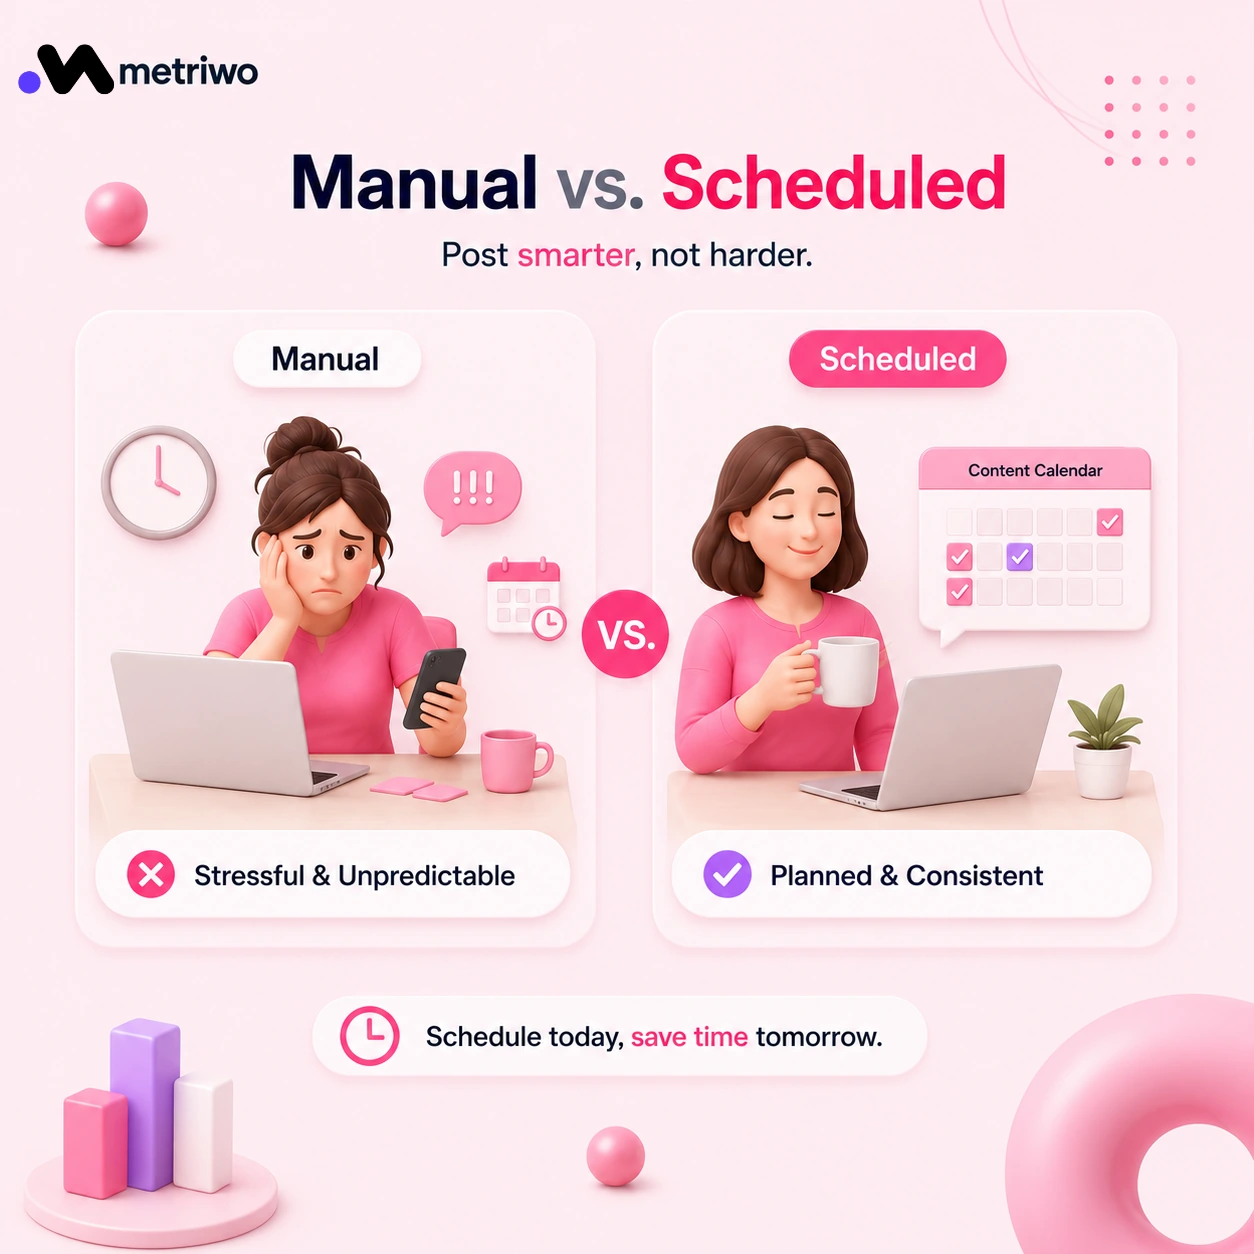
Posting manually every day adds up to real time lost, and scheduling gives that time back in a few concrete ways.
✔️ Save time by batching content instead of publishing one post at a time throughout the week.
✔️ Stay consistent with a predictable posting cadence, even during busy weeks.
✔️ Improve quality because you’re reviewing captions, visuals, and hashtags ahead of time instead of rushing.
✔️ Plan campaigns so your Instagram content lines up with launches, promotions, or email sends.
✔️ Free up time for actual engagement, replying to comments and DMs instead of scrambling to publish.
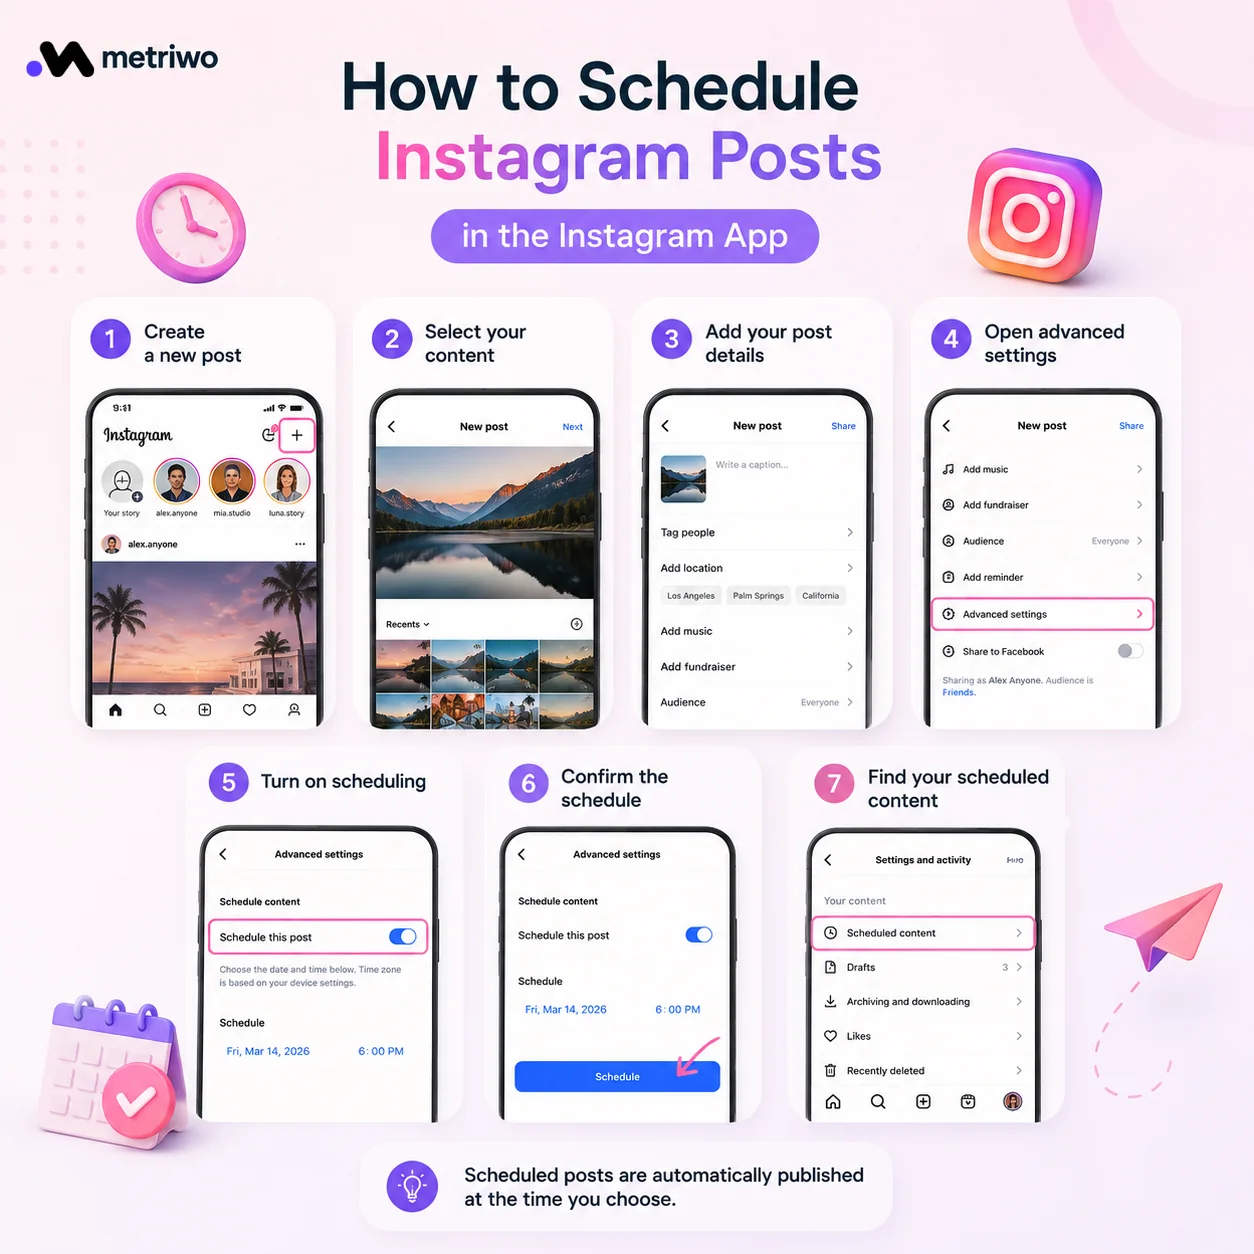
How to Schedule Instagram Posts in the Instagram App
Step 1: Open Instagram and Start a New Post
Tap the plus icon from your profile or home screen to begin creating your post.
Step 2: Select Your Content
Choose a photo, video, or carousel. Reels follow the same scheduling flow as regular posts.
Step 3: Add Your Post Details
Write your caption, tag anyone relevant, add a location, and apply any filters or editing you want before moving on.
Step 4: Open Advanced Settings
Scroll to the bottom of the final screen before posting and tap Advanced settings on iOS or More options on Android.
Step 5: Turn On Scheduling
Toggle on Schedule this post, then pick the exact date and time you want it to go live.
Step 6: Confirm the Schedule
Tap Schedule. Instagram queues the post and publishes it automatically at the chosen time, no further action needed from you.
Step 7: Find Your Scheduled Content
Scheduled posts sit in a queue accessible from your profile settings, where you can review, edit, or delete them before they go live.
If you’re deciding between doing this on your phone or waiting until you’re at a desktop, our guide on scheduling Instagram posts from mobile and desktop breaks down when each makes more sense.
Instagram Scheduling Limits You Should Know
If you’re building a workflow around native scheduling, it helps to know exactly where the edges are. Instagram lets you schedule up to 75 days in advance, with a cap of 25 scheduled posts per day per account, and it covers photos, carousels, and Reels, though not Stories. Private accounts can’t use native scheduling at all, so you’ll need to switch to public first, and there’s no built in bulk upload, each post still has to be scheduled one at a time. Managing more than one account means logging in and switching between them manually, and there’s no approval workflow, so anyone with access can schedule or edit freely if you’re working with a team or client. These limits apply directly inside the Instagram app, while Meta Business Suite mirrors most of them but adds Stories support.
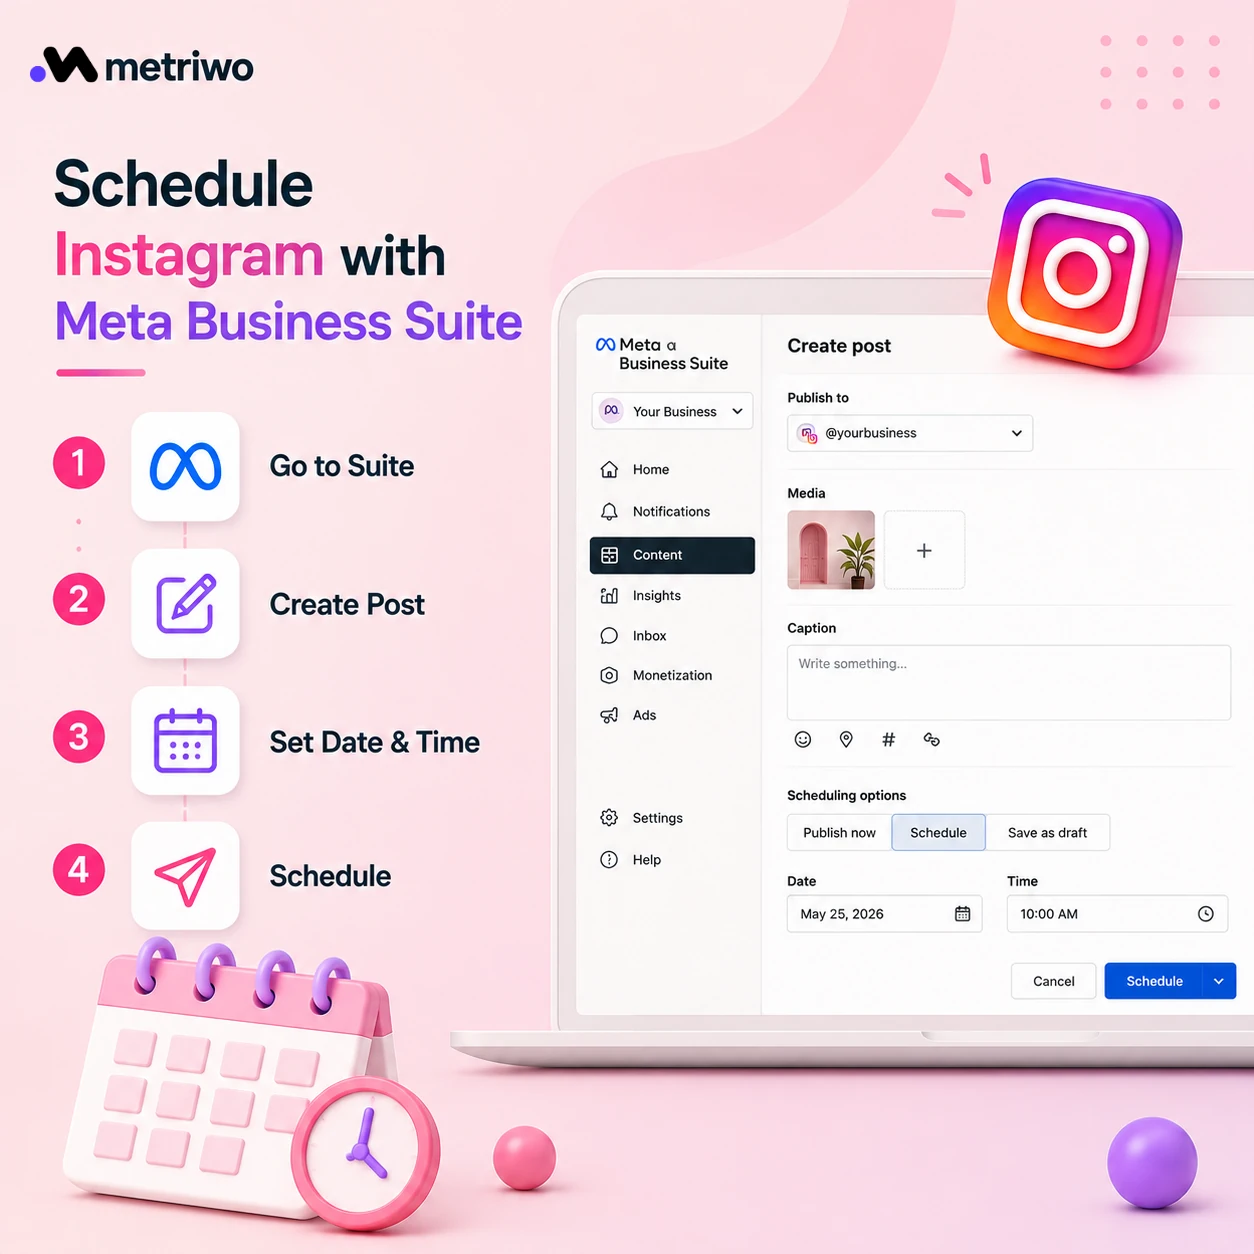
How to Schedule Instagram Posts with Meta Business Suite
Step 1: Connect Instagram to Meta Business Suite
Link your Instagram professional account to Meta Business Suite through its settings if you haven’t already.
Step 2: Create a Post
From the Planner or Create Post section, start a new post.
Step 3: Select Instagram as the Destination
Choose Instagram specifically, since Meta Business Suite can publish across Facebook and Instagram together.
Step 4: Add Your Media and Caption
Upload your image or video, write the caption, and add any tags or hashtags.
Step 5: Choose Your Date and Time
Set exactly when you want the post to publish.
Step 6: Schedule and Review
Confirm the schedule, then check the Planner view any time to see, edit, or reschedule upcoming posts.
When Should You Use a Third Party Instagram Scheduler?
Native tools handle basic scheduling well, one account, a modest posting pace, no approval chain. Things get harder once your workflow grows past that.
✔️ You’re managing more than one Instagram account.
✔️ You’re publishing a high volume of content weekly.
✔️ You need an actual visual content calendar, not just a queue.
✔️ More than one person is involved in creating or approving posts.
✔️ Clients need to review and sign off before anything goes live.
✔️ You want to schedule across platforms, not just Instagram.
✔️ You need to see your grid laid out visually before publishing.
✔️ You want everything managed from one central place instead of switching between apps.
✔️ This is where a social media post scheduler starts to earn its place, not because native tools are bad, but because they weren’t built for that kind of complexity.
How to Schedule Instagram Posts with Metriwo
Metriwo’s scheduler is built around the same core workflow, connect, create, upload, write, schedule, review, and publish, but designed for people managing more than a single account.
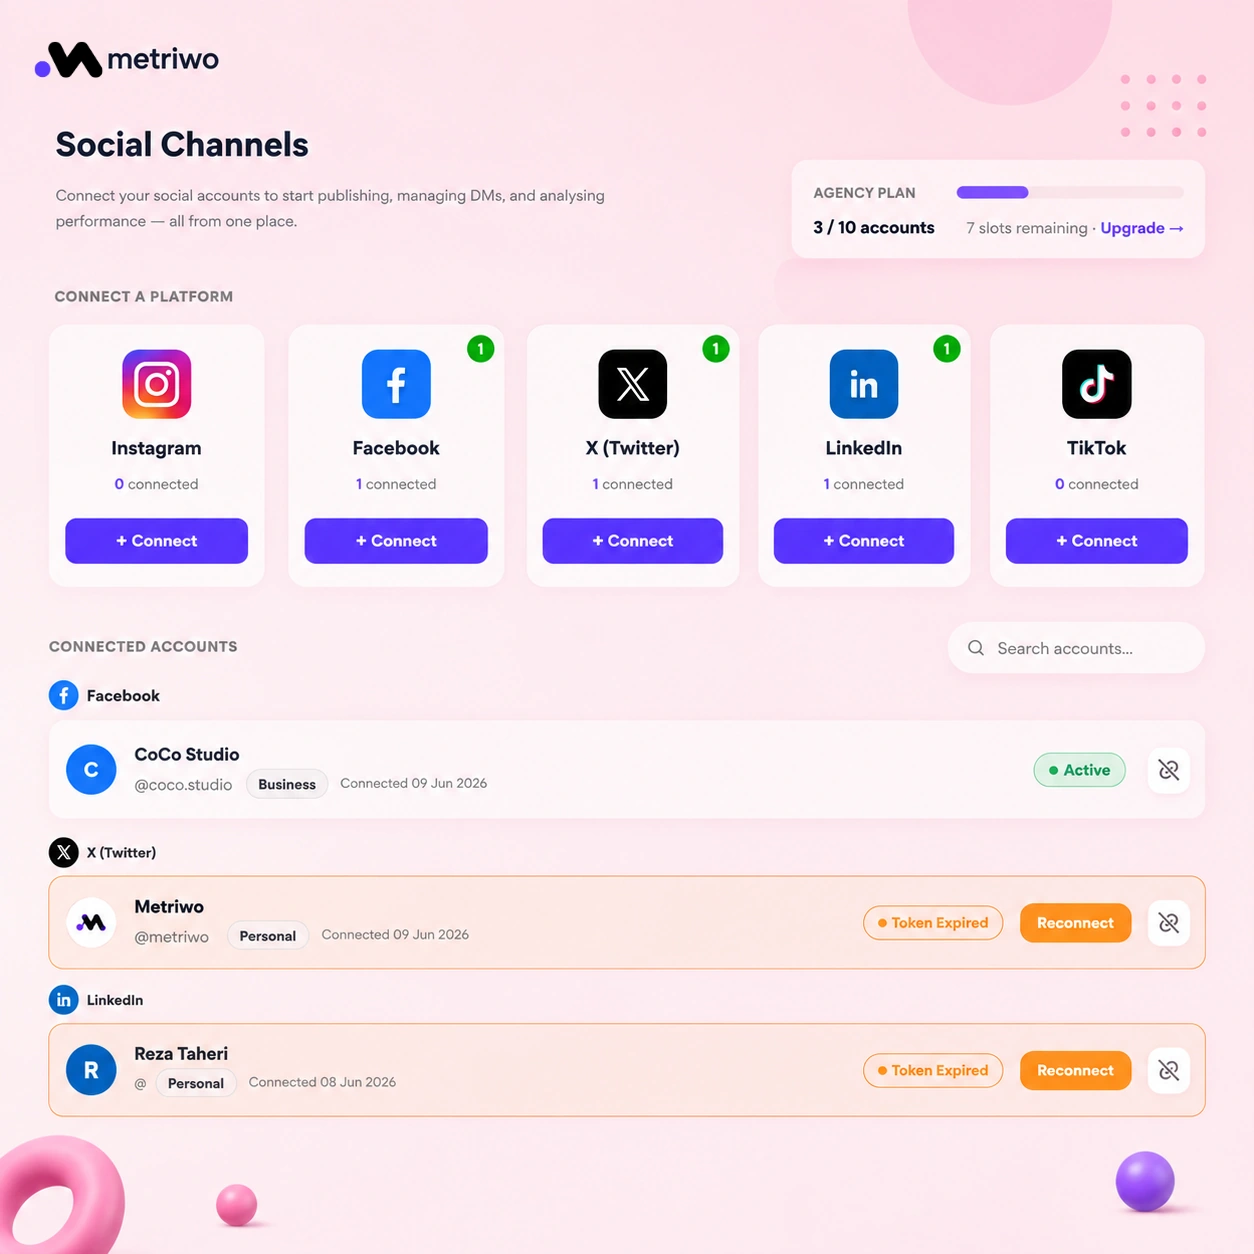
Step 1: Connect Your Instagram Account
Link your Instagram professional account to Metriwo through the platform’s connection flow.
Step 2: Create an Instagram Post
Start a new post from Metriwo’s content creation screen.
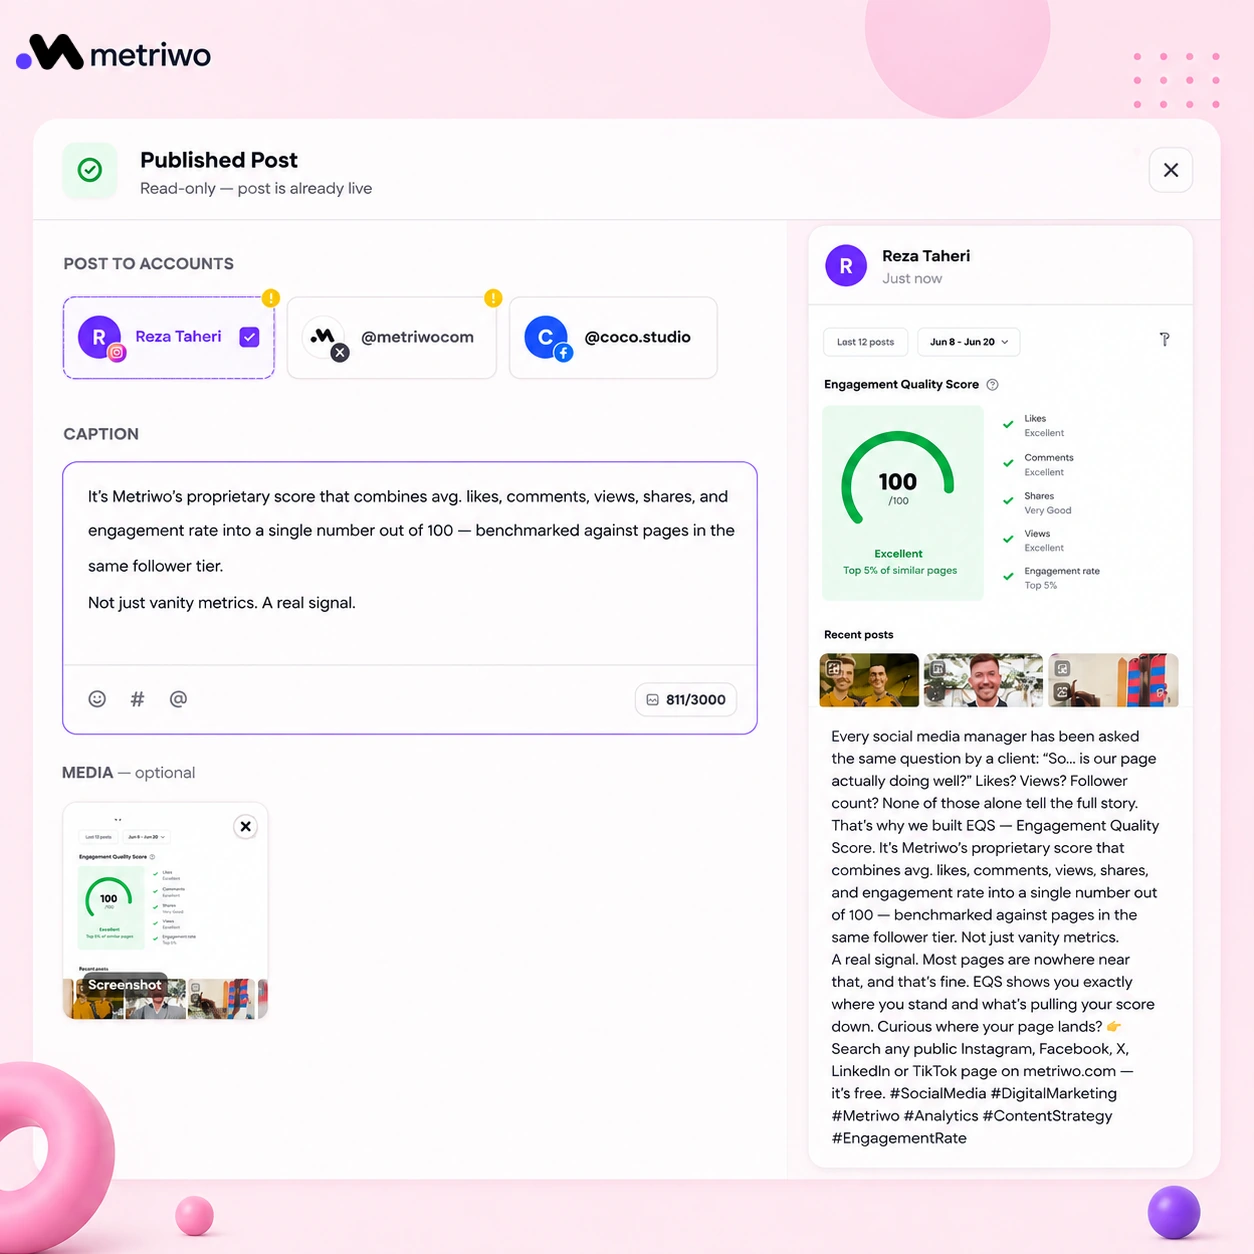
Step 3: Upload Your Content
Add your photo, video, or carousel using the supported upload options.
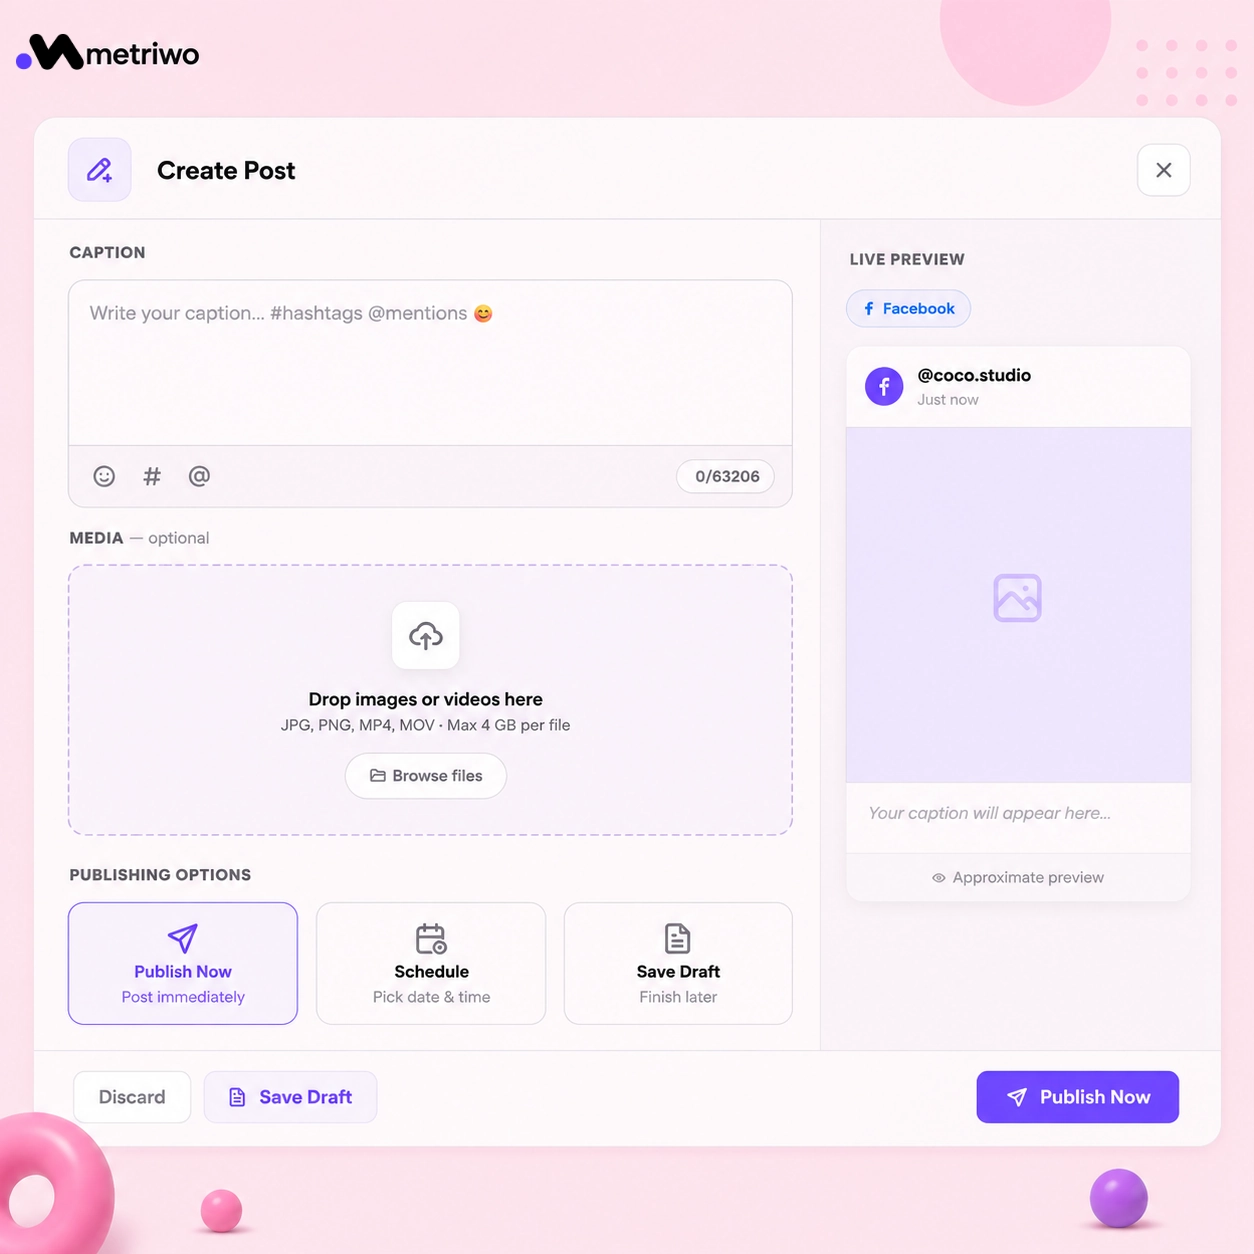
Step 4: Write and Optimize Your Caption
Draft your caption and apply any caption tools Metriwo provides.
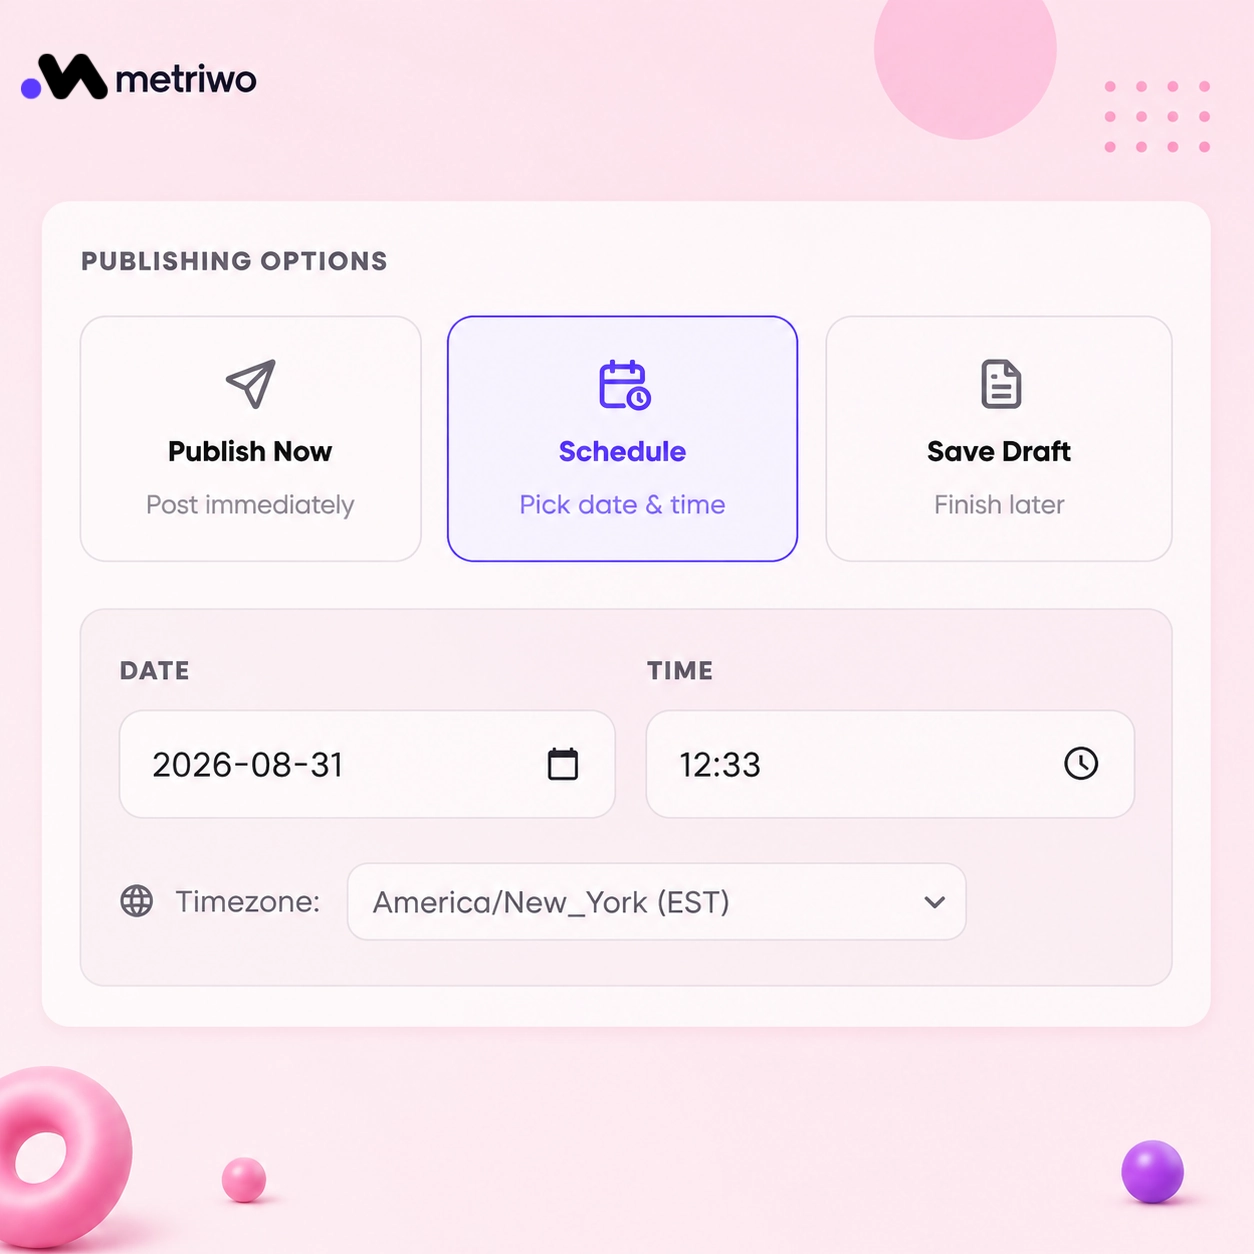
Step 5: Choose the Date and Time
Set your publishing date, time, and time zone if that option exists.
Step 6: Review the Scheduled Post
Check the post in Metriwo’s calendar or queue view before it goes live
Step 7: Schedule the Post
Confirm and schedule. The post publishes automatically at the set time.
Try Metriwo’s Instagram post scheduler tool to plan, schedule, and organize your Instagram content from one centralized workflow instead of managing every post individually.
What to Look for in an Instagram Scheduler
✔️ A few criteria matter more than others once you’re comparing tools.
✔️ A visual content calendar, not just a list of upcoming posts.
✔️ A media library so you’re not re-uploading the same assets repeatedly.
✔️ Support for multiple accounts if you manage more than one.
✔️ Reliable auto-publishing, not just reminders to post manually.
✔️ Built-in analytics so you can see what’s actually working.
✔️ Draft support for content that isn’t ready to schedule yet.
✔️ Team collaboration and approval workflows if more than one person is involved.
✔️ Cross-platform publishing if Instagram isn’t your only channel.
Best Practices for Scheduling Instagram Posts
Schedule around actual audience behavior. There’s no single universal best time to post, your own audience data should guide this, which is why checking your best time to post on Instagram matters more than following a generic chart.
✔️ Batch your content. Set aside one session to create and schedule several posts at once instead of doing it daily.
✔️ Review captions before they go live. Check clarity, keywords, your call to action, mentions, and hashtags one more time.
✔️ Keep your content varied. A calendar full of the same format repeated gets predictable fast.
✔️ Look at how posts sit together visually. Scheduled content still needs to make sense as a grid, not just individually.
✔️ Leave some room open. Don’t fill every available slot, real-time content still matters.
✔️ Pause scheduled posts when the context changes. If something major happens, a crisis, breaking news, an unexpected event, review anything queued before it publishes automatically.
Does Scheduling Instagram Posts Affect Engagement?
No, scheduling itself isn’t a penalty. A scheduled post publishes through the same official process as a manual one. What actually moves engagement is content quality, timing, whether the post is relevant to your audience, how consistent you are, and how you engage after it goes live. Scheduling the post and then ignoring the comments that follow is what quietly hurts results, not the scheduling itself.
Bringing It All Together
Instagram gives you two solid free options for scheduling, the native in-app scheduler and Meta Business Suite, both capped at 75 days ahead and 25 posts a day, with Stories only available through Meta Business Suite or a third party tool. Once you’re managing more than one account, coordinating with a team, or just tired of switching between apps, a dedicated scheduler starts to make a lot more sense.
Start with whichever method matches how you actually work right now, and move to something more robust once the manual process starts costing you more time than it saves.